> For the complete documentation index, see [llms.txt](https://docs-wallet.loopring.io/llms.txt). Markdown versions of documentation pages are available by appending `.md` to page URLs; this page is available as [Markdown](https://docs-wallet.loopring.io/security/address-whitelist.md).
# Address Whitelist
{% hint style="warning" %}
Prerequisite: \
\
To whitelist an address you must first trust the contact and [set a Daily Quota](/security/daily-quota.md) (Profile -> Settings -> Security -> Daily Quota). This a feature of the L1 Smart Wallet. You will need to activate this portion in order to perform this function.
{% endhint %}
A whitelisted address is a contact that you have identified as trusted. Once the contact is trusted, token transfers to them are exempt from your [Daily Quota](/security/daily-quota.md) limit. Adding or deleting an address requires the approval of more than half of your Loopring Smart Wallet Guardians and the owner.
Whitelisting an address takes effect within 24 hours after approval. However, deleting a whitelisted address is immediate. You will need to add addresses as Contacts within your wallet before they can be marked as trusted. Use the steps below to set up trust for an Ethereum address. You can skip to Step 4 if the address you want to whitelist is already a contact.
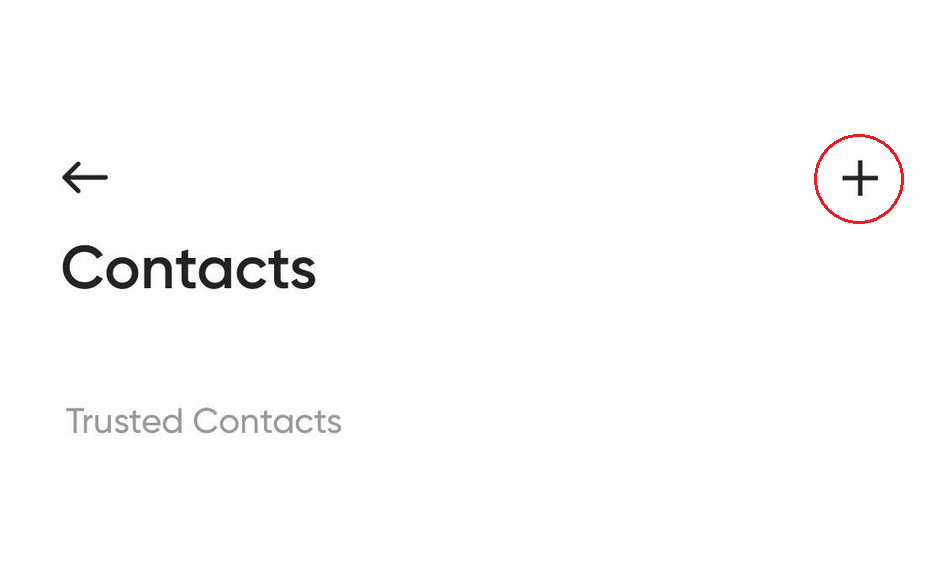
### 1. Tap the Gear icon -> Manage Current Wallet -> Contacts then tap the + symbol on the top right corner
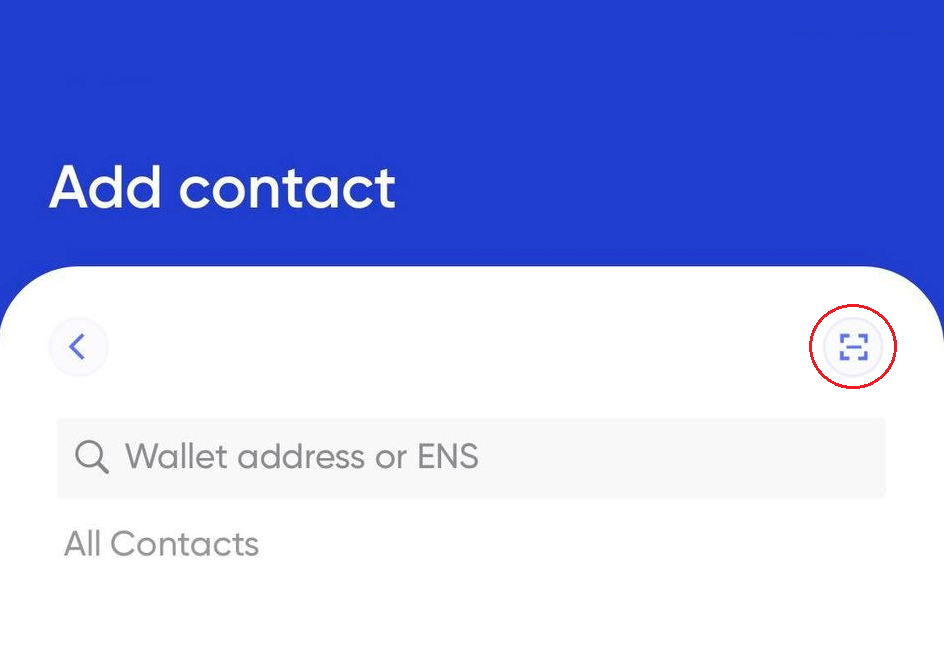
### 2. Paste the Ethereum address you want to whitelist
{% hint style="info" %}
You can also use the QR code located on the right side to scan the Ethereum address you want to use.
{% endhint %}
### 3. Choose contact name and select Add
### 4. Select a contact from the list
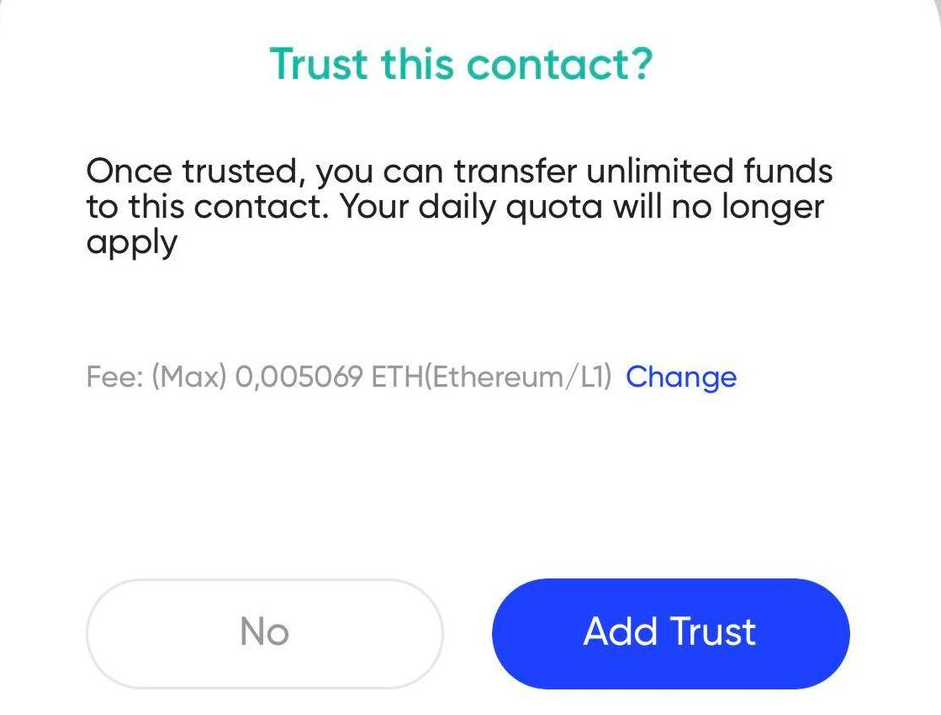
### 5. Tap the Add Trust button
### 6. Click the Add Trust button when asked to confirm your trust in the contact
You can also change the method of payment here.
{% hint style="warning" %}
This is an L1 transaction but you can still use your L2 tokens if you have your Fee Preferences set to use L2 tokens. You can change your Fee Preference settings by going to: Profile > Settings > Fee Preference
{% endhint %}
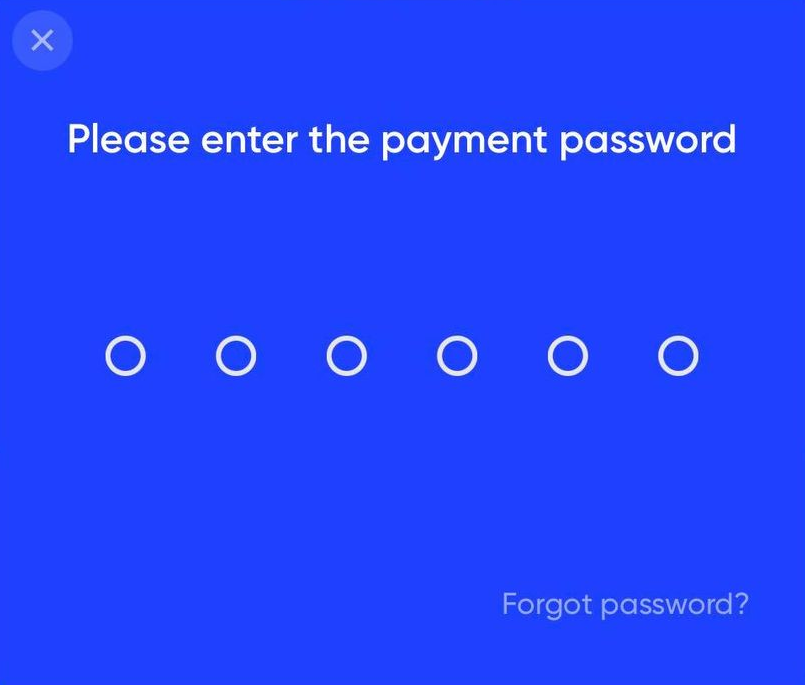
### 7. Enter your password when prompted
### 8. It will take at least 24 hours to successfully whitelist the address
---
# Agent Instructions
This documentation is published with GitBook. GitBook is the documentation platform designed so that both humans and AI agents can read, navigate, and reason over technical content effectively. Learn more at gitbook.com.
## Querying This Documentation
If you need additional information that is not directly available in this page, you can query the documentation dynamically by asking a question.
Perform an HTTP GET request on the current page URL with the `ask` query parameter:
```
GET https://docs-wallet.loopring.io/security/address-whitelist.md?ask=
```
The question should be specific, self-contained, and written in natural language.
The response will contain a direct answer to the question and relevant excerpts and sources from the documentation.
Use this mechanism when the answer is not explicitly present in the current page, you need clarification or additional context, or you want to retrieve related documentation sections.